![[패스트캠퍼스 수강 후기] 프론트엔드 인강 100% 환급 챌린지 33회차 미션](/assets/img/FCFE/post33.jpg)
[패스트캠퍼스 수강 후기] 프론트엔드 인강 100% 환급 챌린지 33회차 미션
2020, Nov 20
강의
02 Truthy와 Falsy
문법이라기보다 개념에 가까움…
Truthy는 true 같은거, Falsy는 false 같은거
이런 코드가 있다고 가정해보자
function print(person) {
  console.log(person.name);
}

const person = {
  name: "John",
};

print(person);
여기서 print() 함수를 아무런 instance 없이 호출하면 person이 undefined 이기 때문에 에러발생
TypeError: Cannot read property ‘name’ of undefined at print
아래와 같이 undefined 일 때 예외처리
function print(person) {
  if (person === undefined) {
    return;
  }
  console.log(person.name);
}
만약, person 이 객체가 아니라 null 이면?
function print(person) {
  if (person === undefined || person === null) {
    return;
  }
  console.log(person.name);
}
이렇게 하면 너무 지저분함…!
function print(person) {
  if (!person) {
    return;
  }
  console.log(person.name);
}
이렇게 해결 가능!
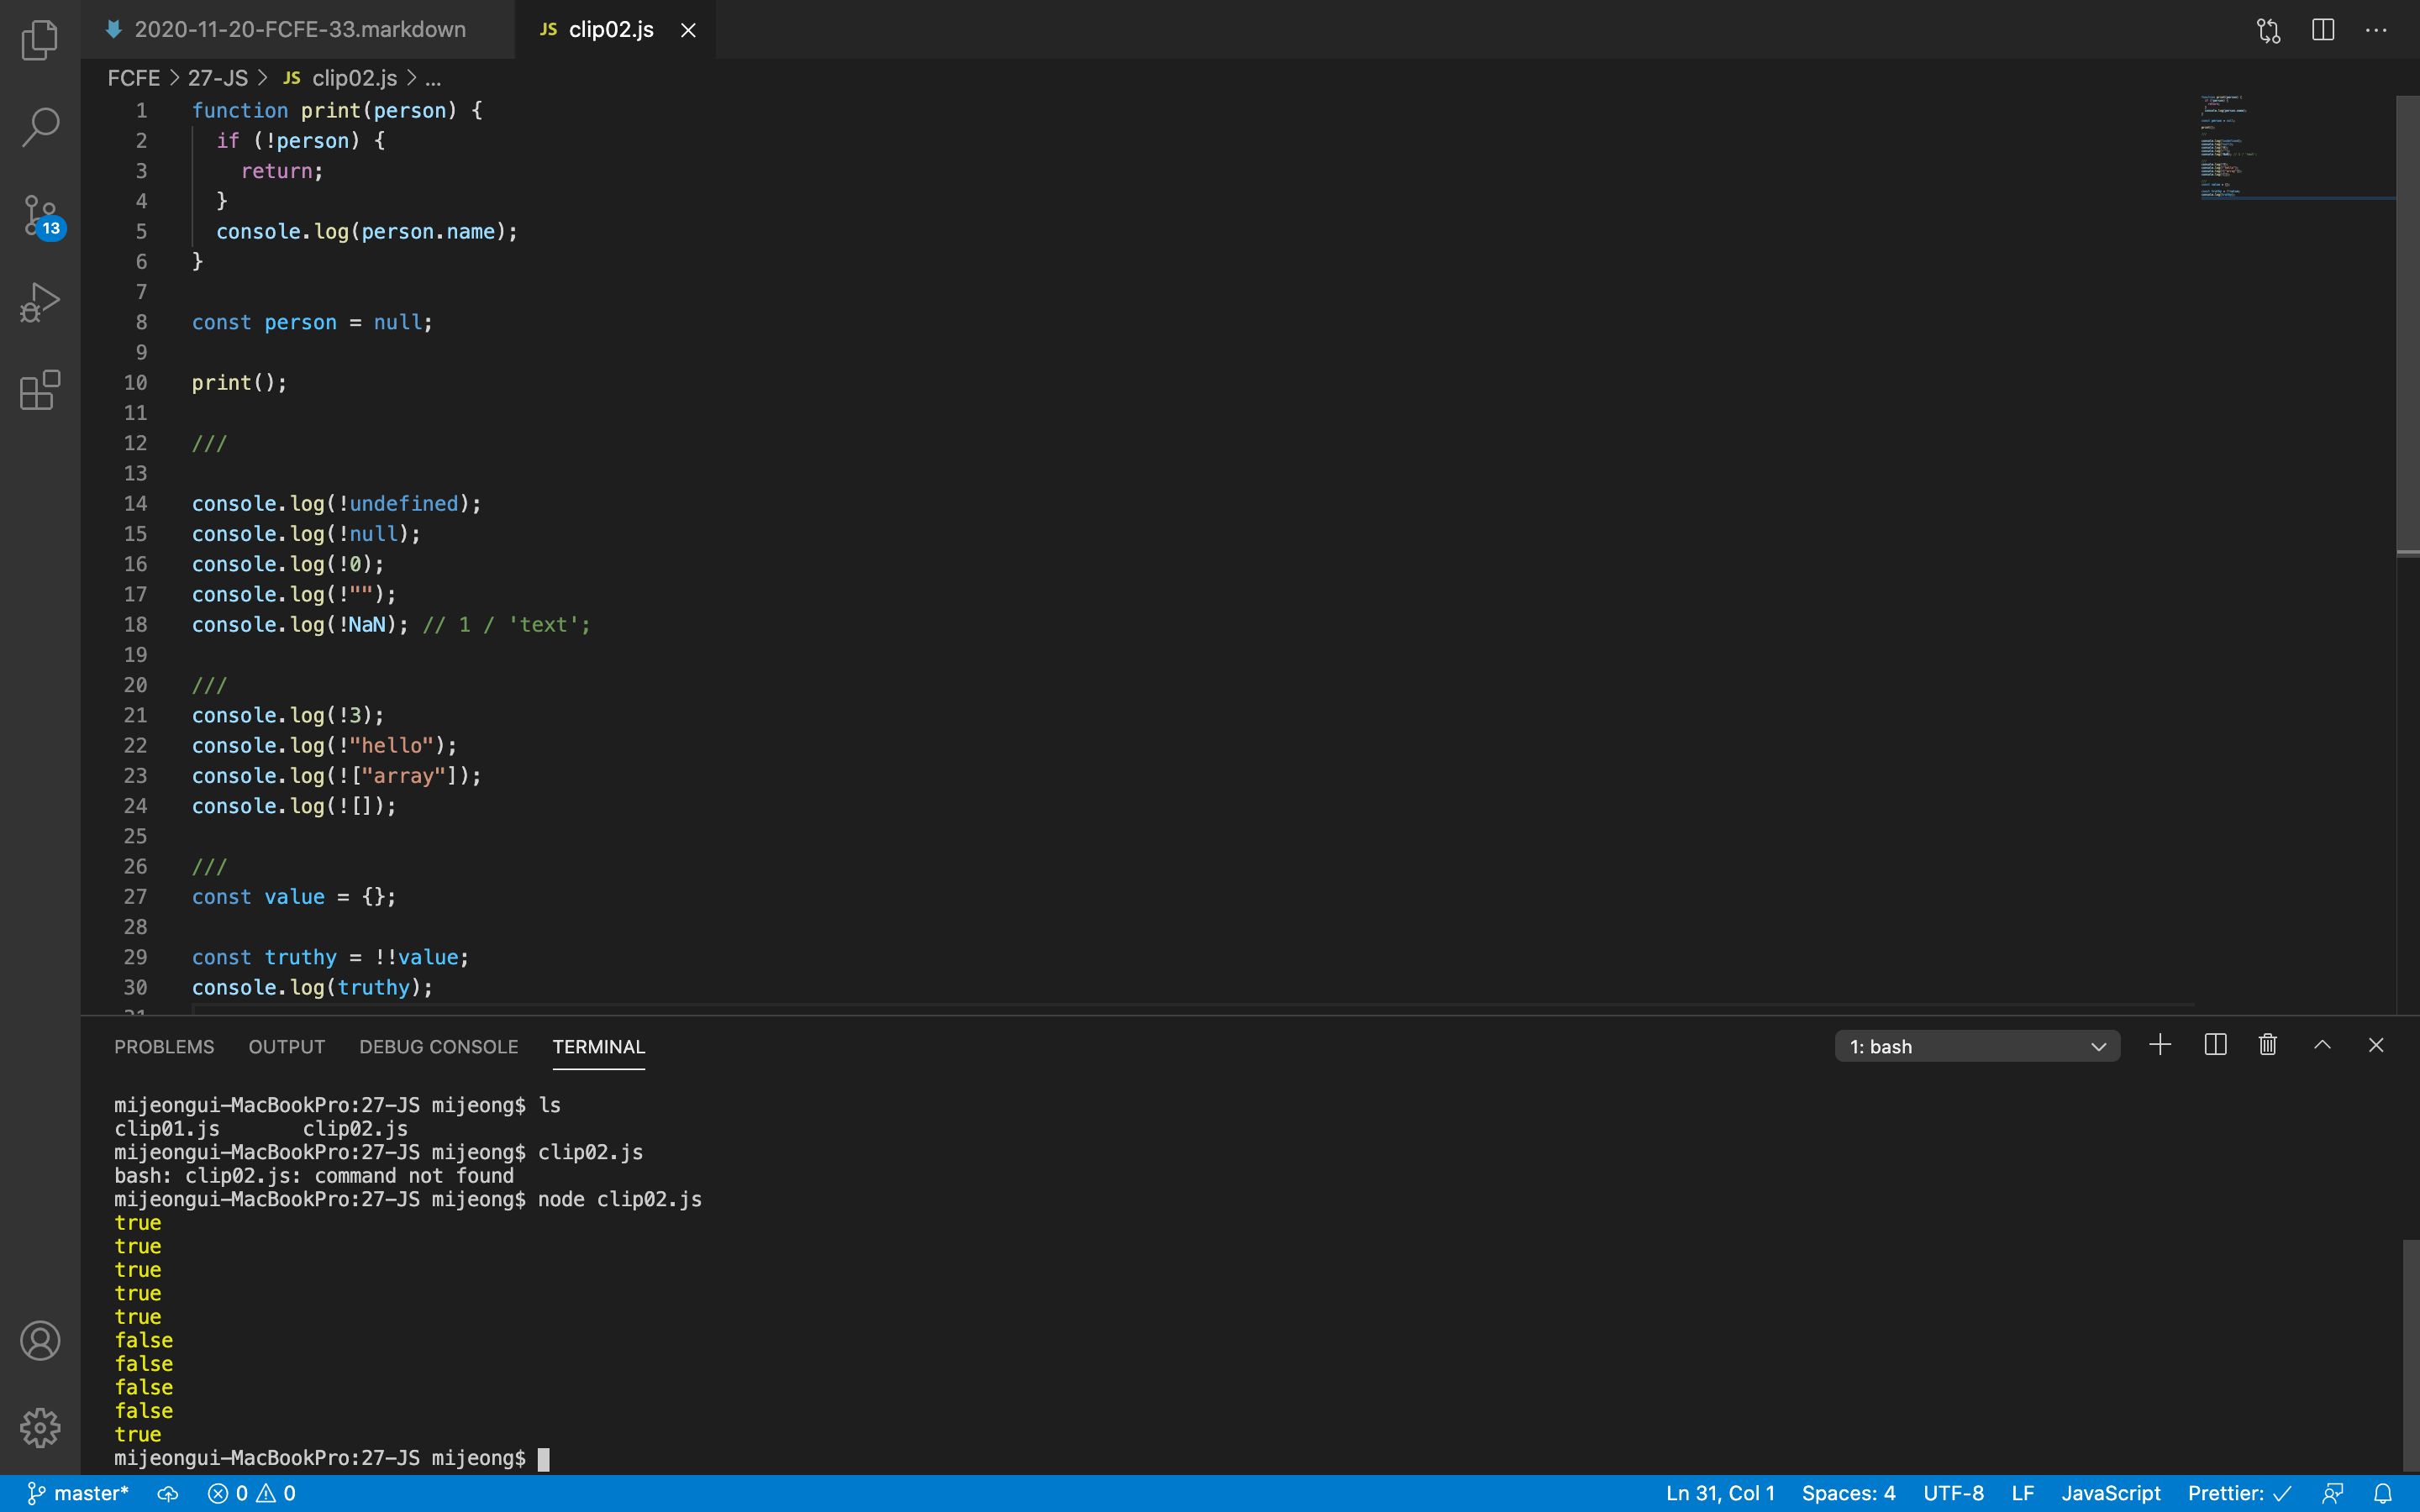
Falsy 한 값이 5종류가 있다.
console.log(!undefined);
console.log(!null);
console.log(!0);
console.log(!"");
console.log(!NaN); // 1 / 'text'; Not a Number
결과는 모두 true
위를 제외한 모든 값은 Truthy한 값
console.log(!3);
console.log(!"hello");
console.log(!["array"]);
console.log(![]);
결과는 모두 false
const value = { a: 1 };

if (value) {
  console.log("value가 Truthy하네요");
}
Falsy와 Truthy를 바꾸고자 할 경우
const value = {};

const truthy = value ? true : false;
console.log(truthy);
이렇게 쓸 필요 없이
const value = {};

const truthy = !!value;
console.log(truthy);
이렇게 만들 수 있다!
기억해야할 것! Falsy 한 값 5가지
undefined, null, 0, ‘’, NaN
04 나의 첫번째 리액트 컴포넌트
src 디렉토리에 Hello.js 파일을 만든다
리액트 컴포넌트 만들 때
// Hello.js
import React from "react";
를 통해 리액트를 불러와야 함
리액트 컴포넌트는 함수형태 or 클래스형태로 작성 가능
Hello 라는 컴포넌트를 만든다.
// Hello.js
function Hello() {
  return <div></div>; // jsx
}
Hello 라는 컴포넌트를 내보내주는 코드
// Hello.js
export default Hello;
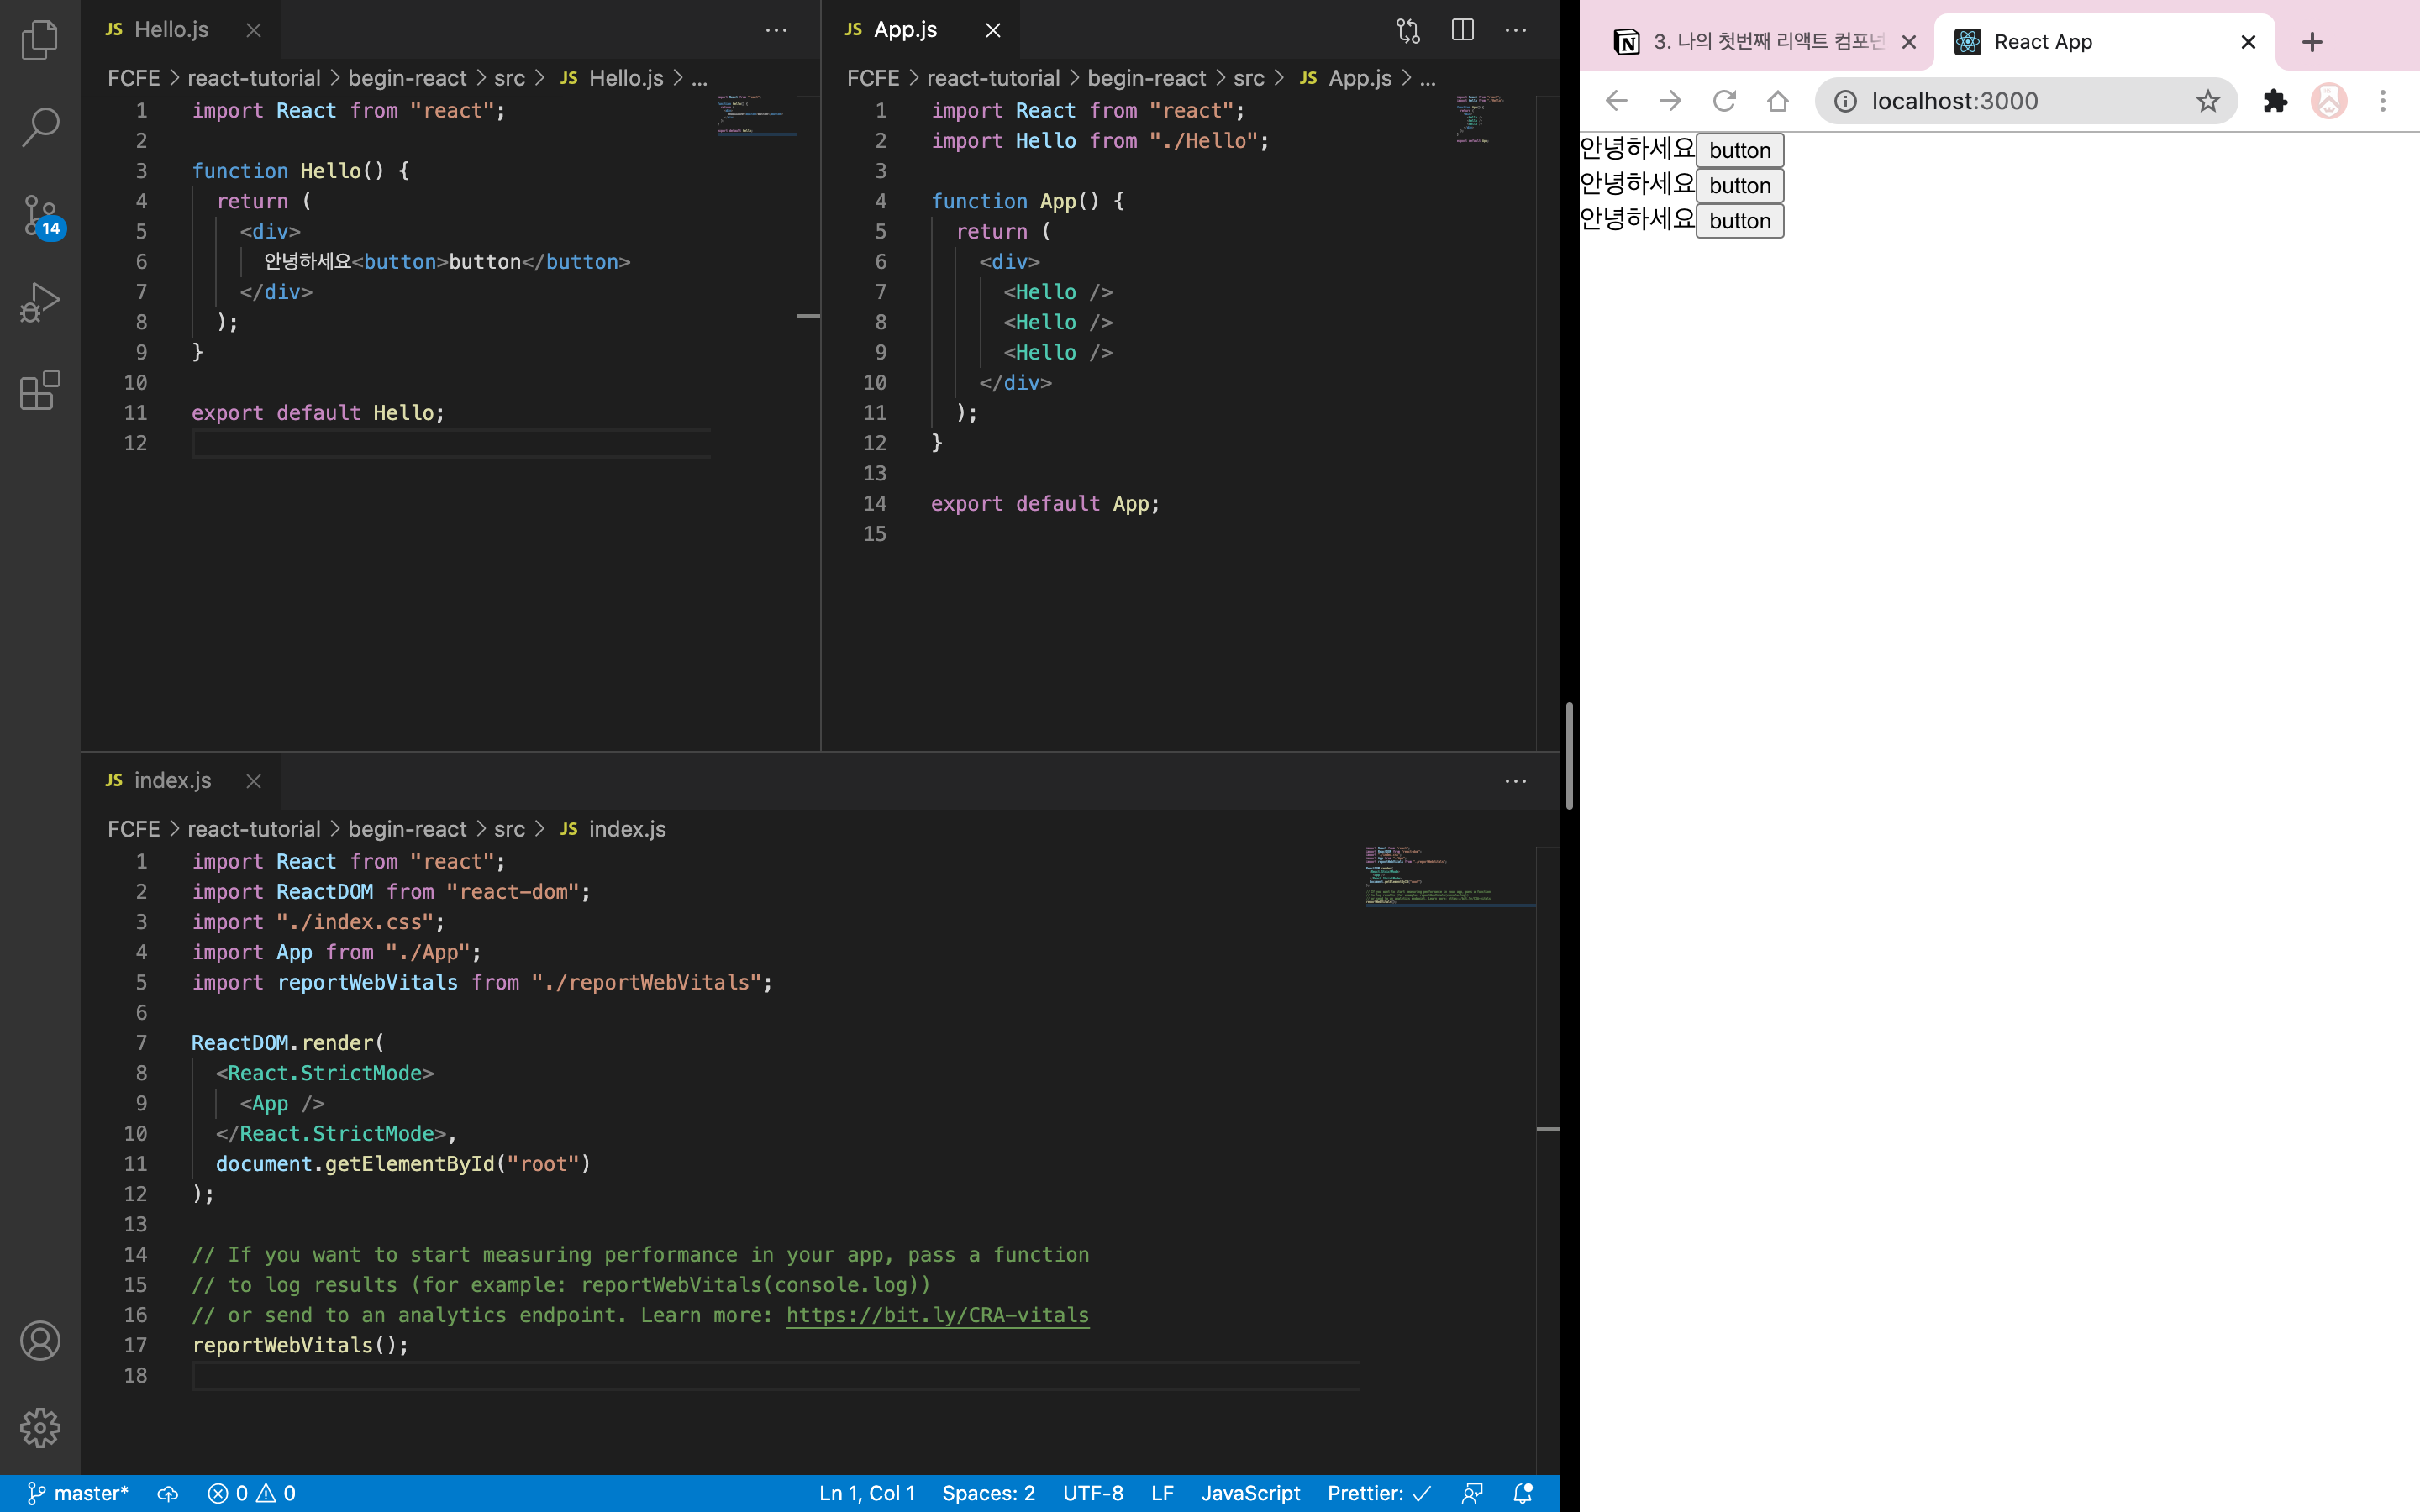
App.js 에서 필요 없는 부분을 모두 지워주고 Hello 컴포넌트를 불러와서 사용해보자
// App.js
import React from "react";
import Hello from "./Hello";

function App() {
  return (
    <div>
      <Hello />
    </div>
  );
}

export default App;
컴포넌트는 일종의 UI 조각, 쉽게 재사용 가능!
function App() {
  return (
    <div>
      <Hello />
      <Hello />
      <Hello />
    </div>
  );
}
index.js 를 살펴보자
// index.js
import React from "react";
import ReactDOM from "react-dom";
import "./index.css";
import App from "./App";
import reportWebVitals from "./reportWebVitals";

ReactDOM.render(
  <React.StrictMode>
    <App />
  </React.StrictMode>,
  document.getElementById("root") // Id가 root인 것을 찾아서 그 안에 App을 넣겠다!
);

// If you want to start measuring performance in your app, pass a function
// to log results (for example: reportWebVitals(console.log))
// or send to an analytics endpoint. Learn more: https://bit.ly/CRA-vitals
reportWebVitals();
root 는 어디에…?
public 폴더의 index.html 에 아래와 같은 코드가 있음
<div id="root"></div>
이곳에 리엑트 컴포넌트가 삽입이 되는 것!
// Hello.js
import React from "react";

function Hello() {
  return (
    <div>
      안녕하세요<button>button</button>
    </div>
  );
}

export default Hello;
33회차 인증샷
올인원 패키지 : 프론트엔드 개발👉https://bit.ly/3m0t8GM